
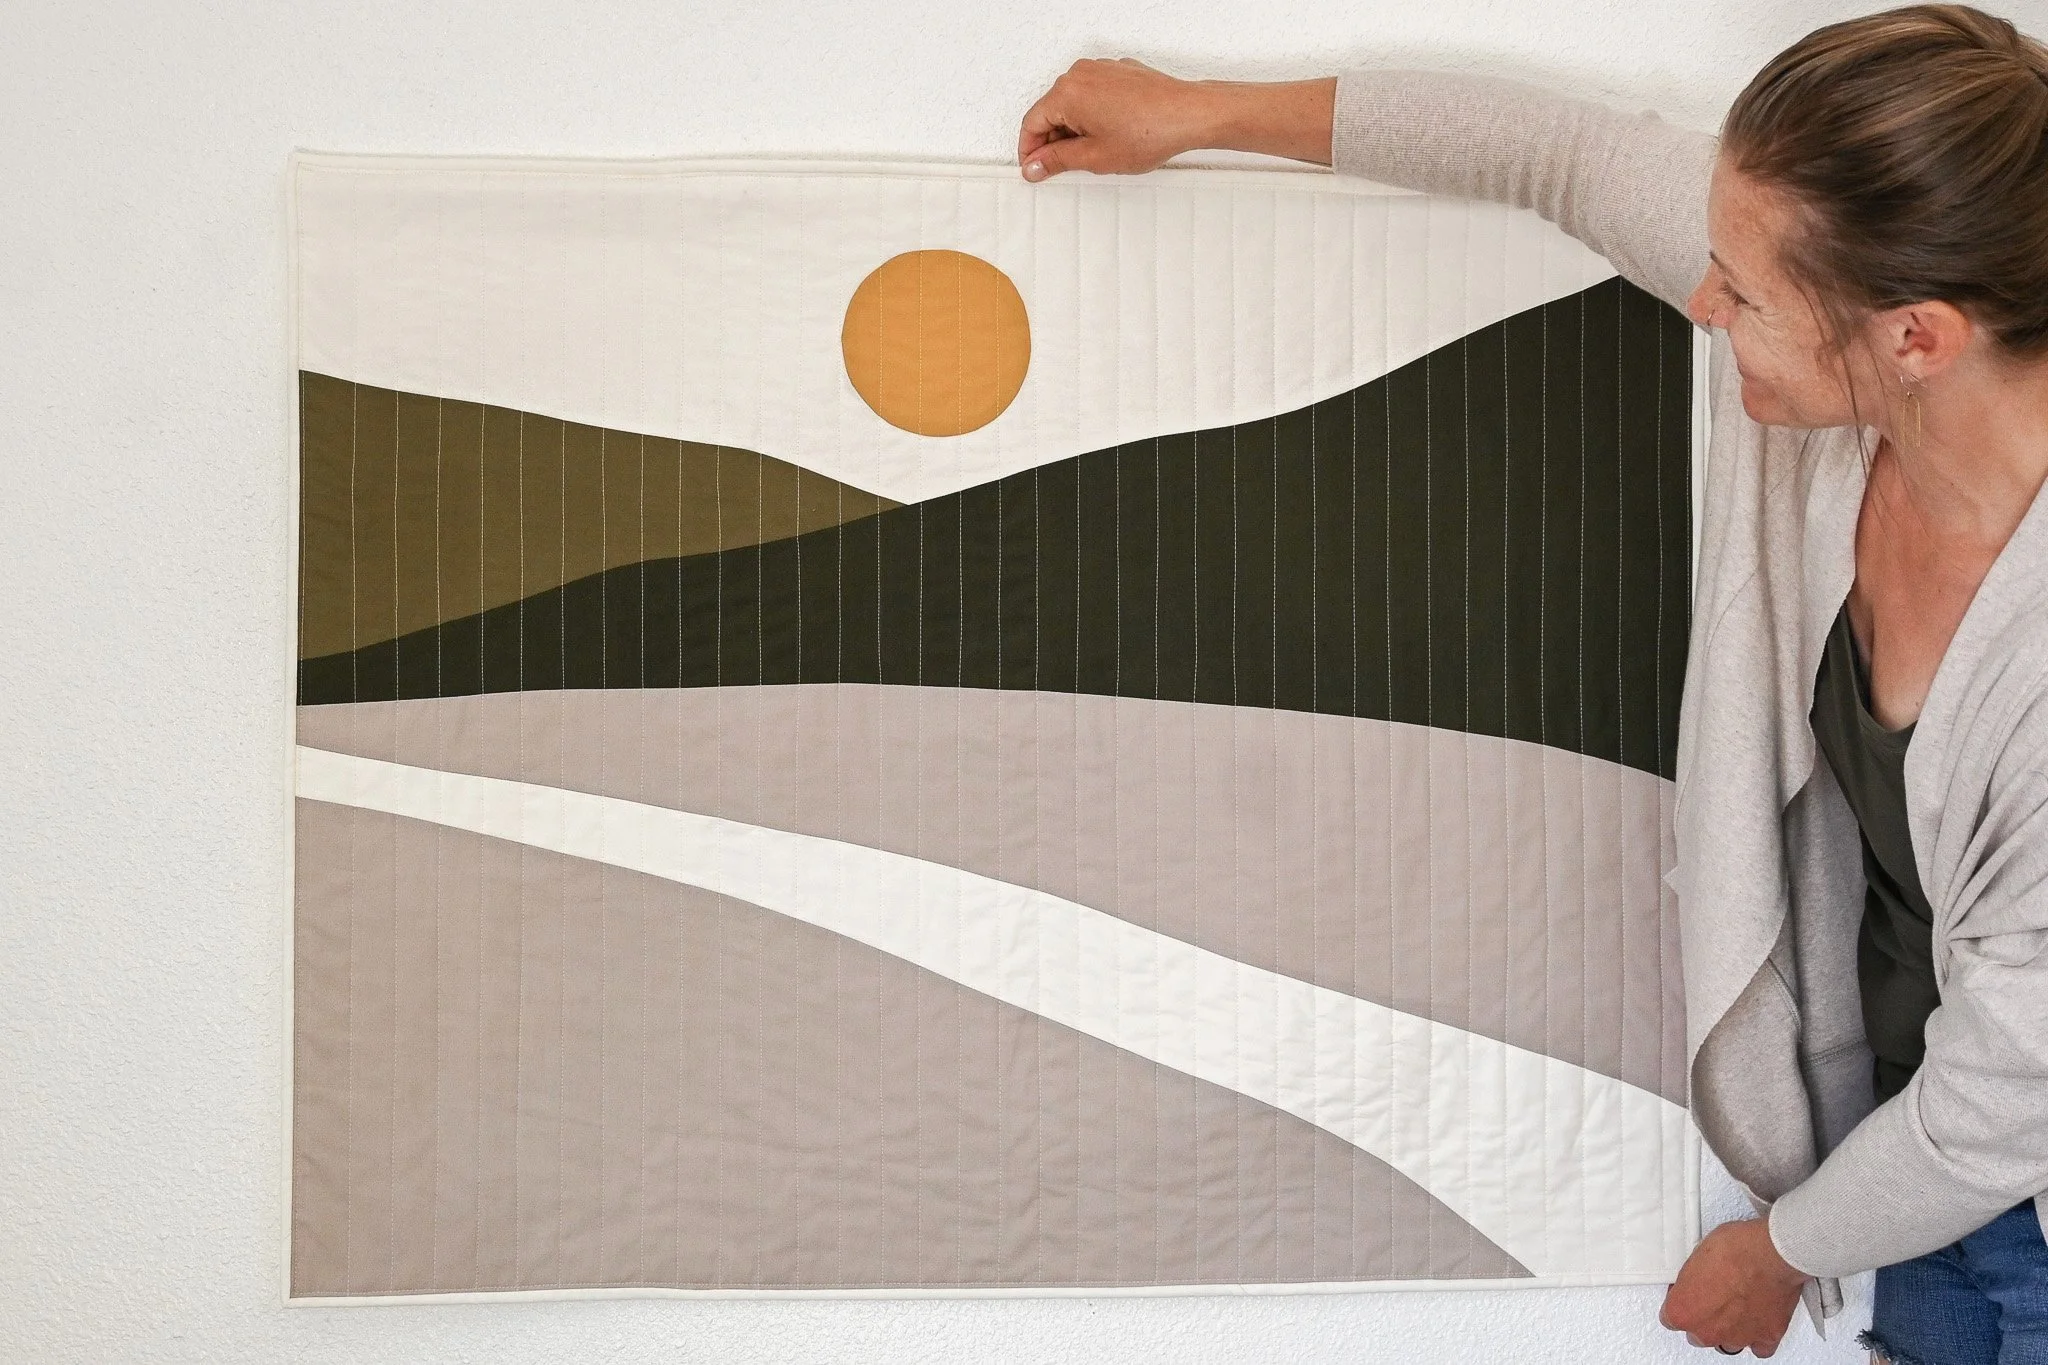
How to Hang a Quilt
A quilt wall hanging can add a beautiful softness, a texture to any space. It is safer that framed art, especially if you live in an area prone to earthquakes, and has the added benefit of absorbing sound, making it ideal for an office or other space where sound echoes. Hanging a quilt is quick and easy, requiring just a few simple tools!
-
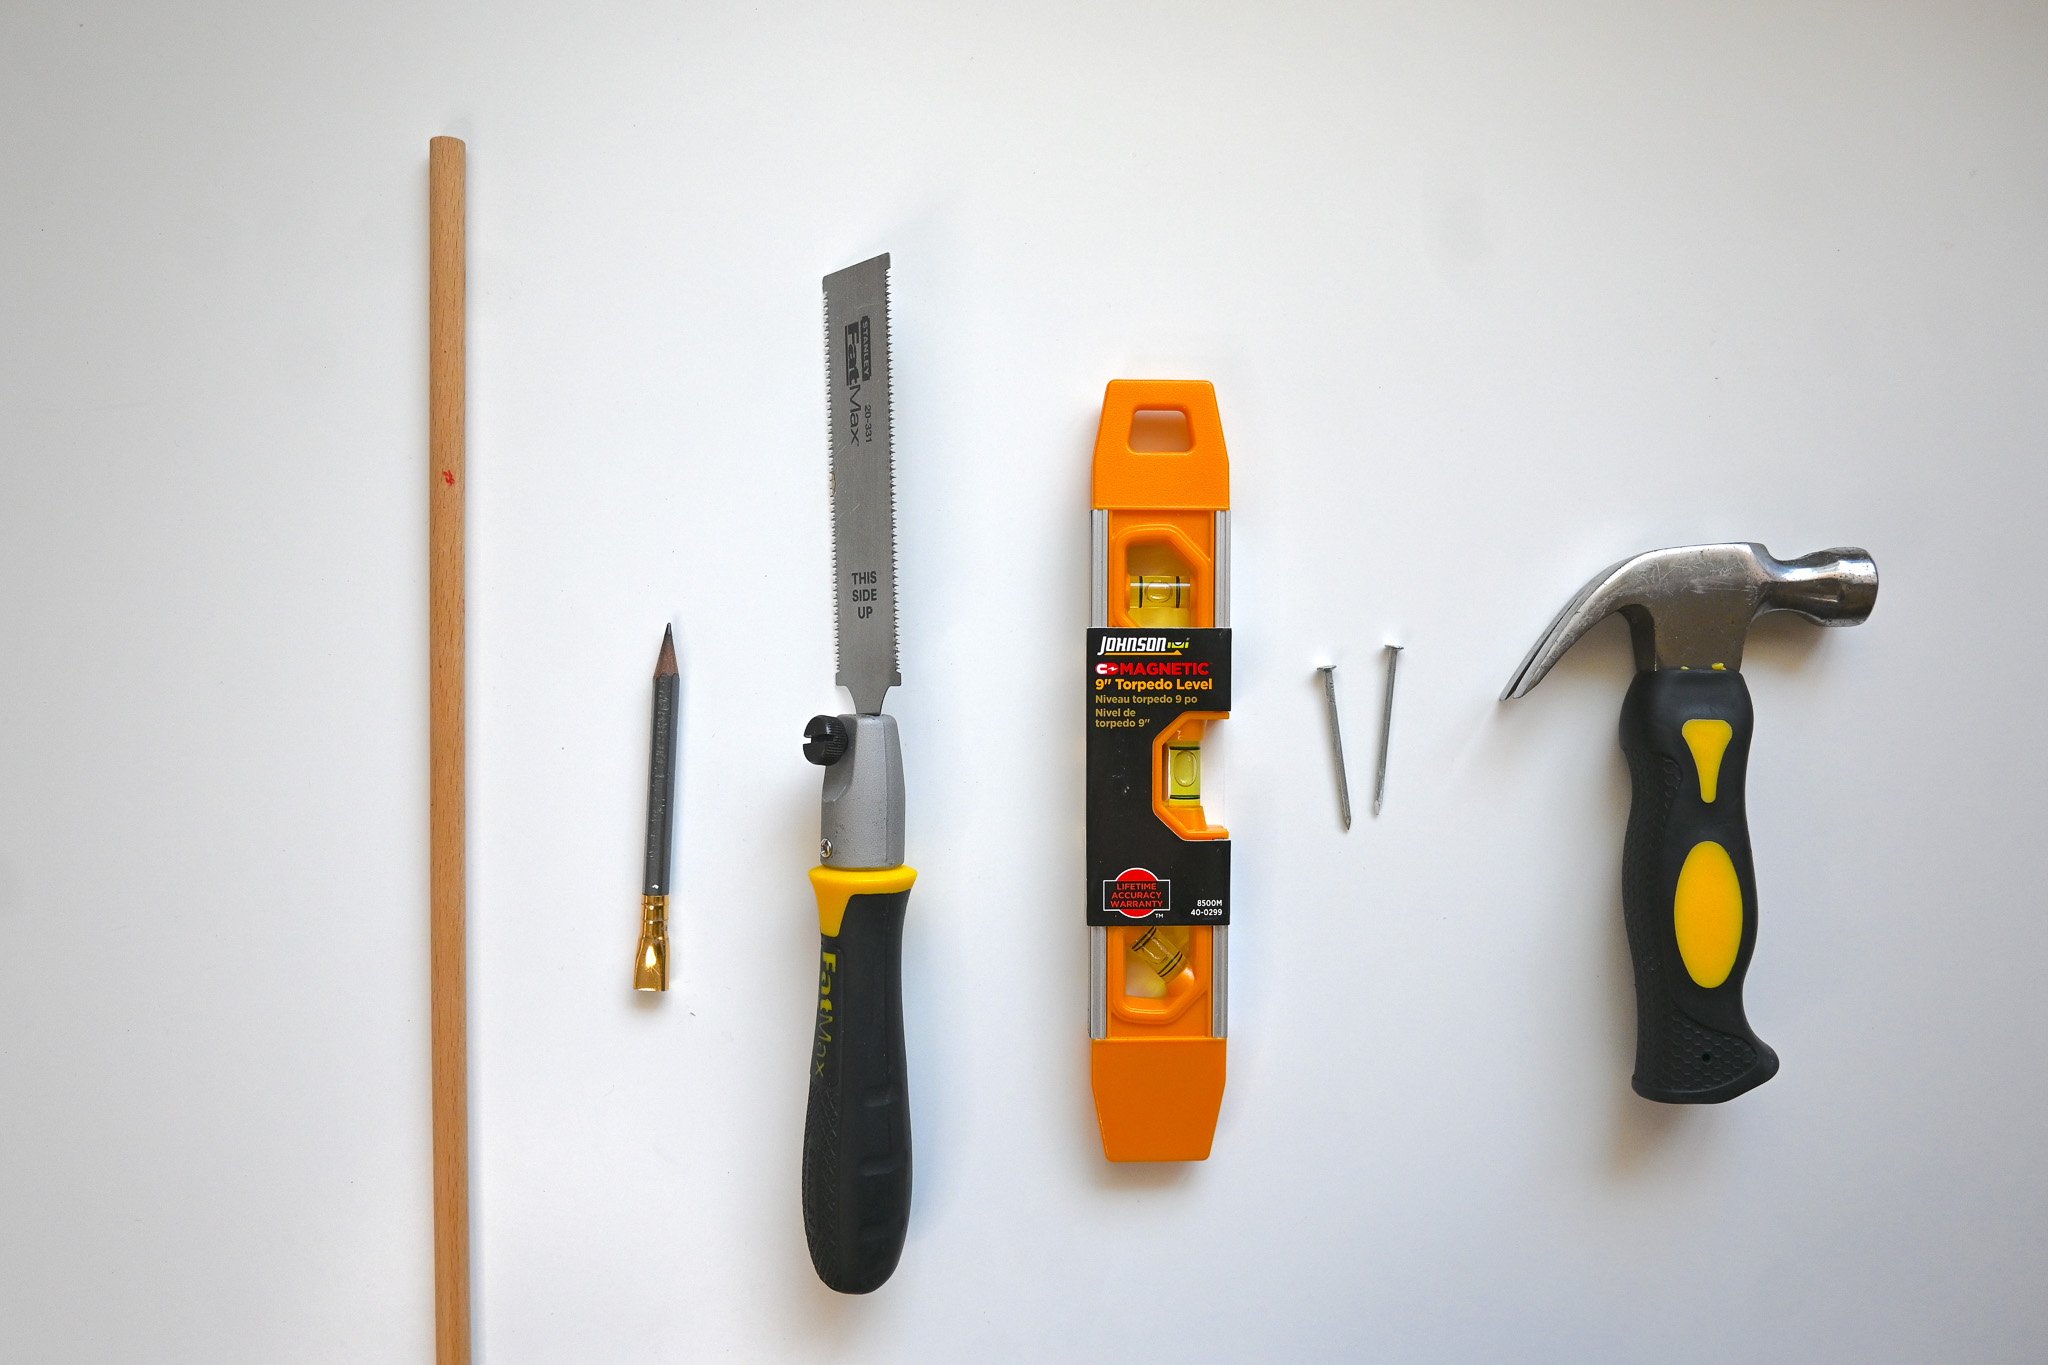
01/ Gather Materials
You will need: a wooden dowel (3/8”- 1/2” diameter), a pencil, a small hand saw, a level, two nails, and a hammer
-

02/ Cut Dowel
Measure the dowel to the width of the quilt. Use the saw to cut the dowel to the desired size.
-

03/ Measure & Place Nails
Use the dowel and level to mark two dots where the nails will go, approximately 4-12 inches apart (depending on size of the quilt). Hammer the two nails in place.*
* If you are in a space that does not allow for nails in the walls, you can use 3m command hooks or push pins instead of nails.
-

04/ Hang Quilt
Slide the dowel through the hanging sleeves of the quilt. Hang your quilt and enjoy!
-

Let it be beautiful!
-

Alternative Hanging Option
Cut the dowel to be a few inches longer than the width of the quilt. Cut a length of string to be approx. 6-12 in longer than the dowel. Slide the dowel through the hanging sleeves of the quilt. Tie each end of the string to dowel on either side of the quilt. Hang the string from a nail or hook, adjusting until the quilt hangs straight.
